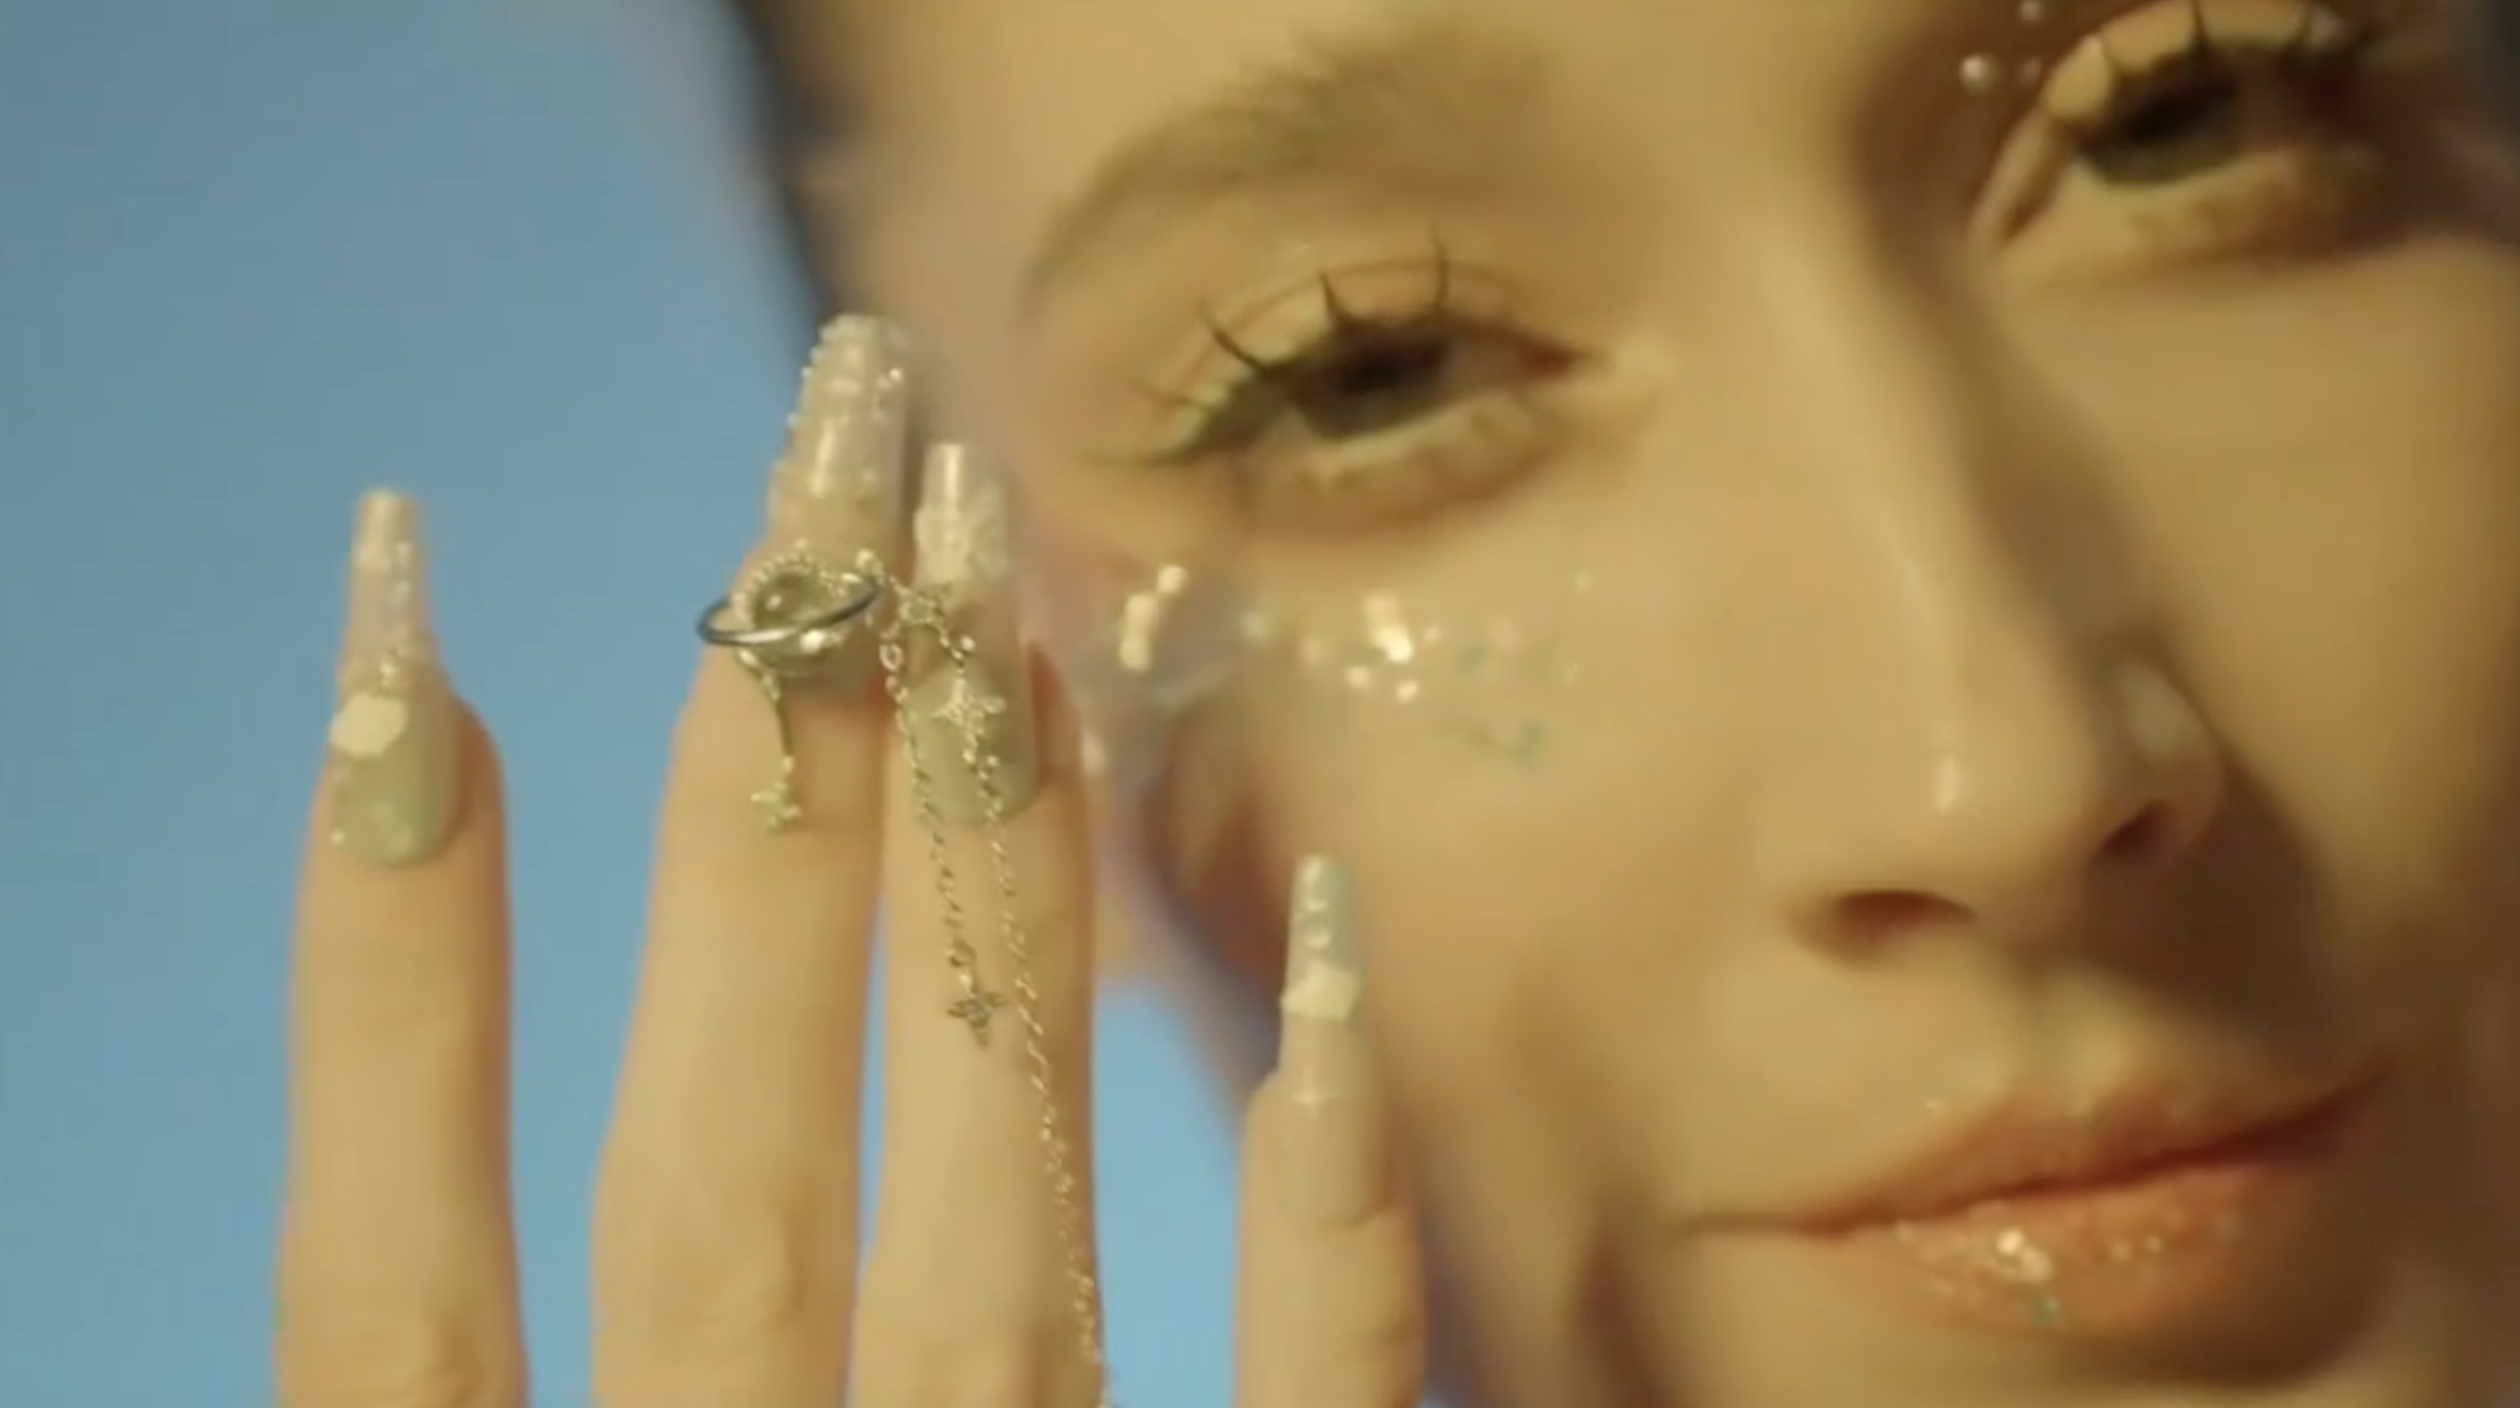
How to Apply Your Nails
Follow these steps for a 2-week salon-quality hold.
Follow these steps for a 2-week salon-quality hold.
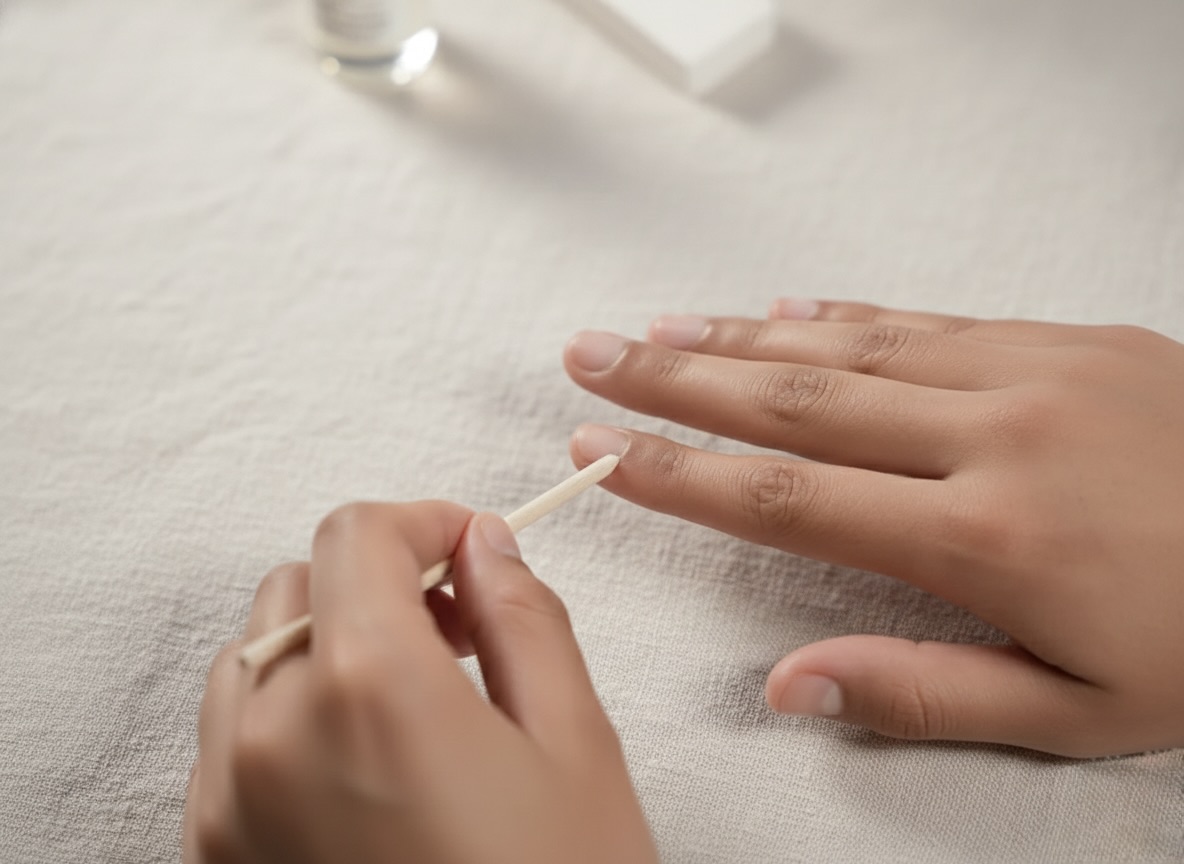
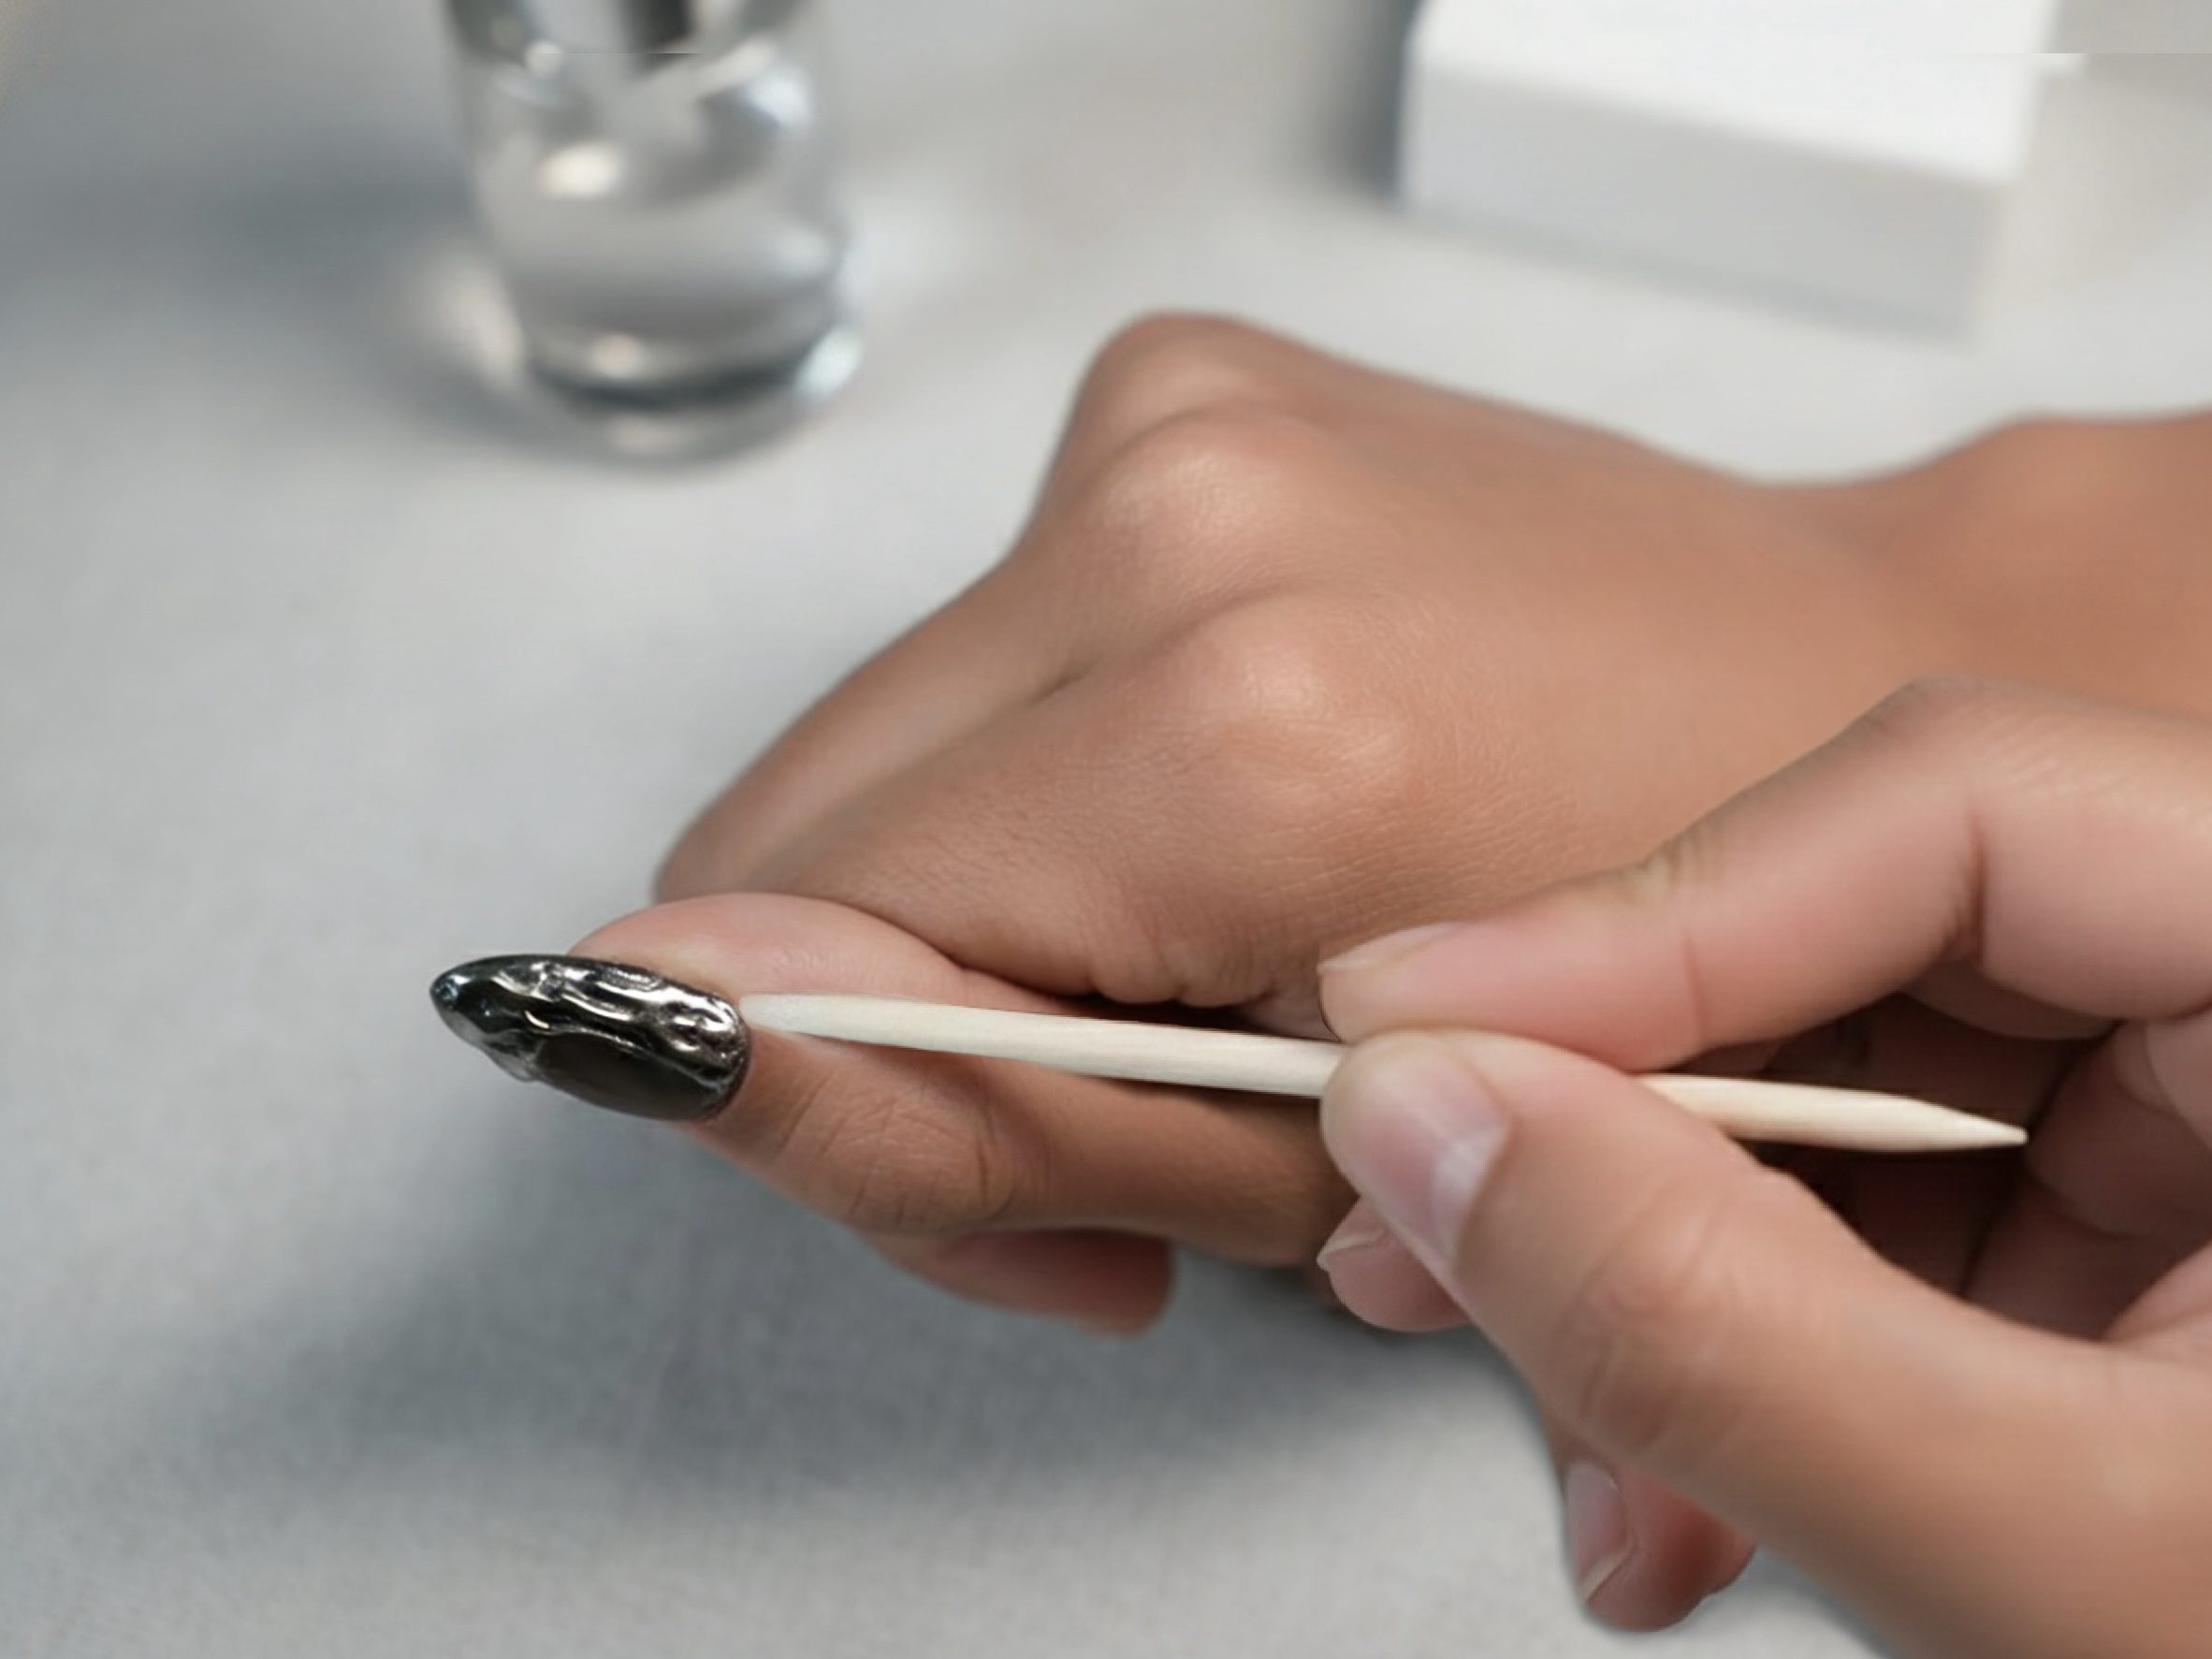
1. Prep: Use the RosieCat cuticle pusher to gently push back your cuticles.
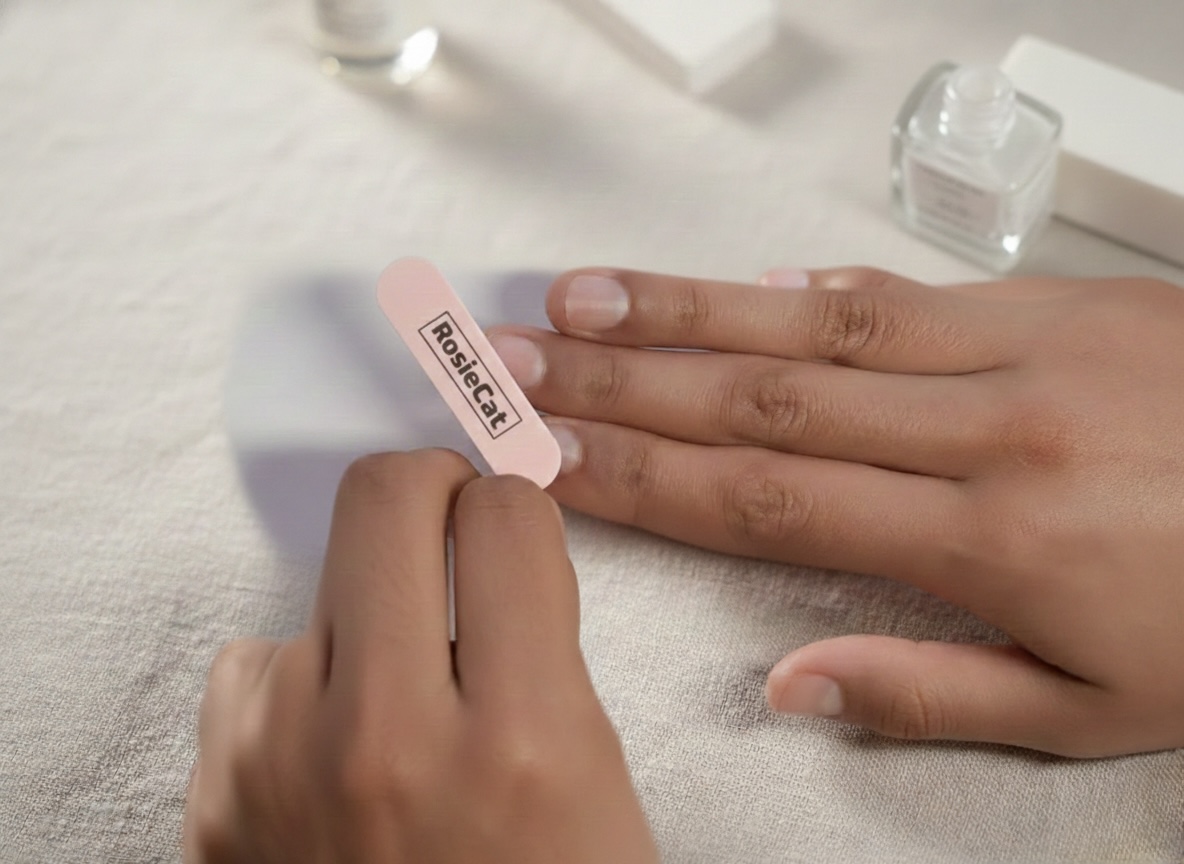
2. Lightly buff the surface of your natural nail with the mini-file to remove the shine (this helps the glue grip).
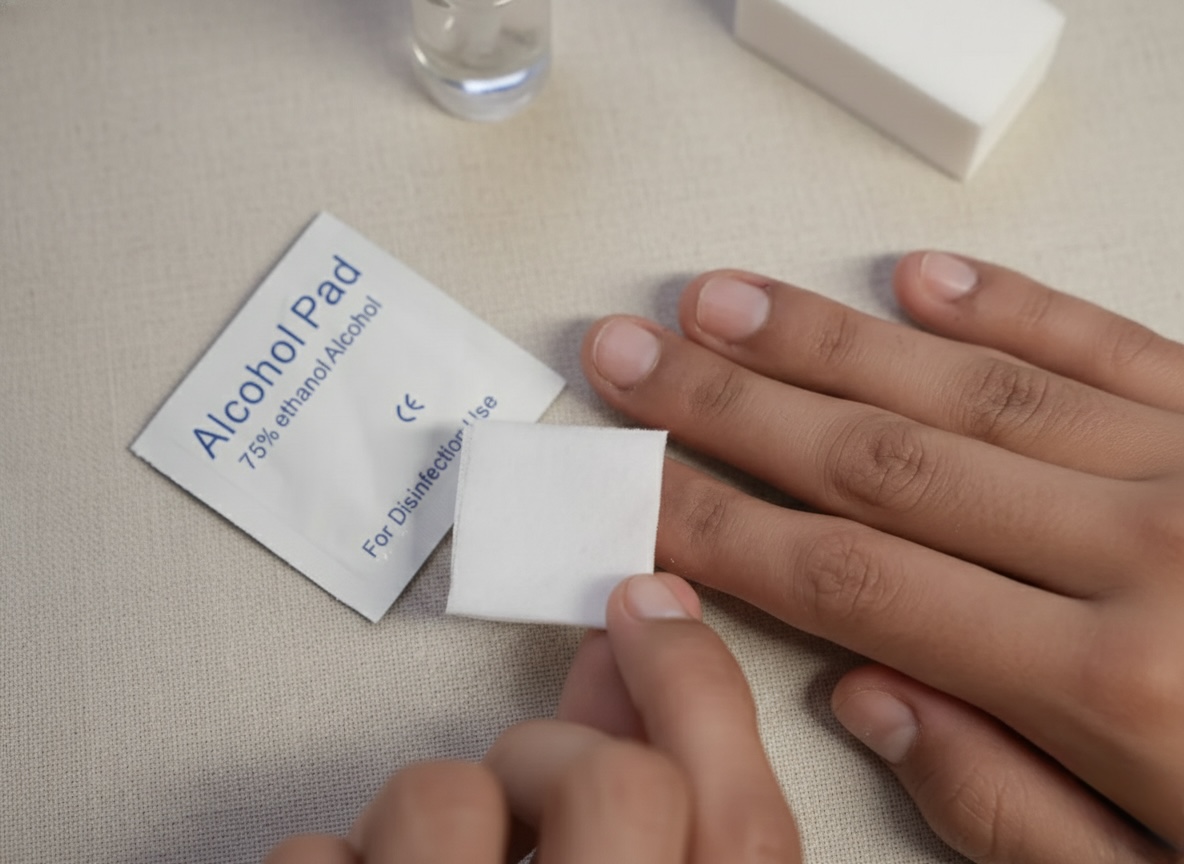
3. Cleanse: Wipe each nail thoroughly with the included alcohol prep pad to remove oils and dust.
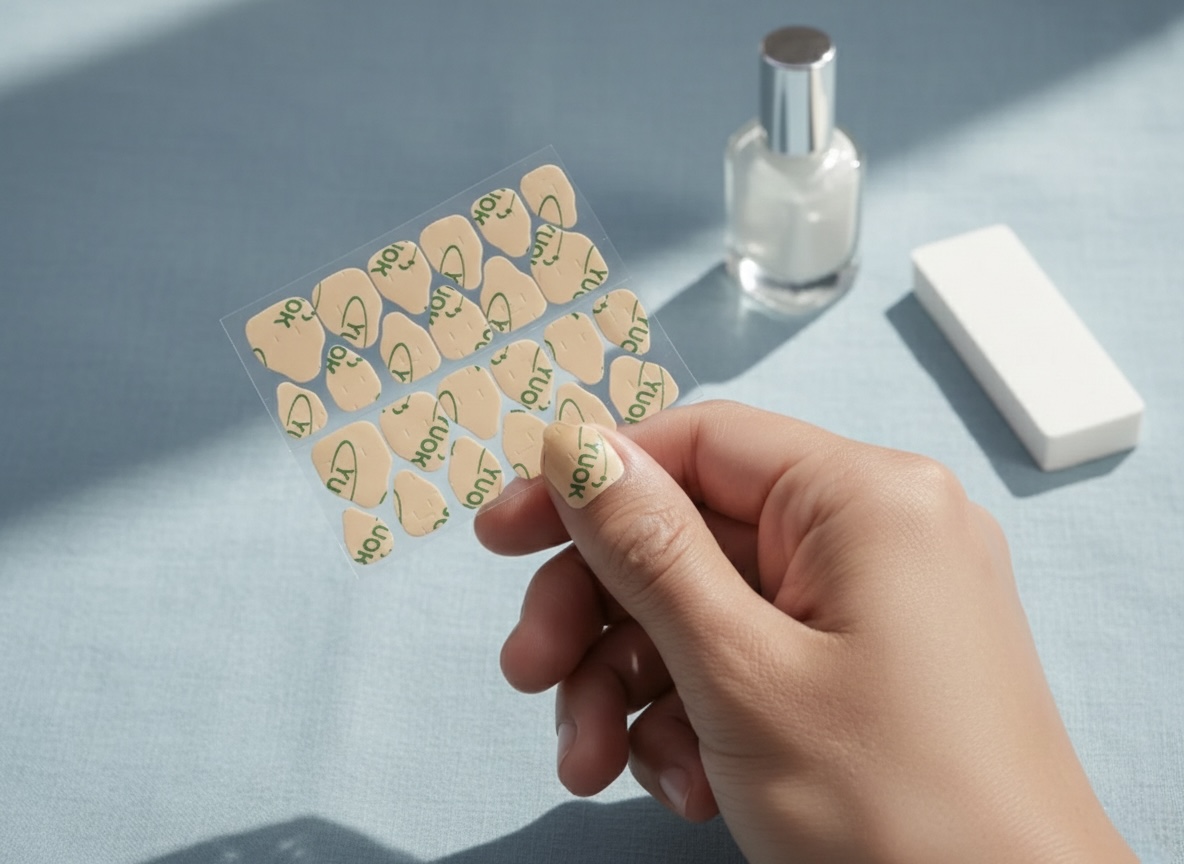
4. Apply Adhesive: Apply the adhesive tab directly to your natural nail. (Please choose the right size according to your nails)
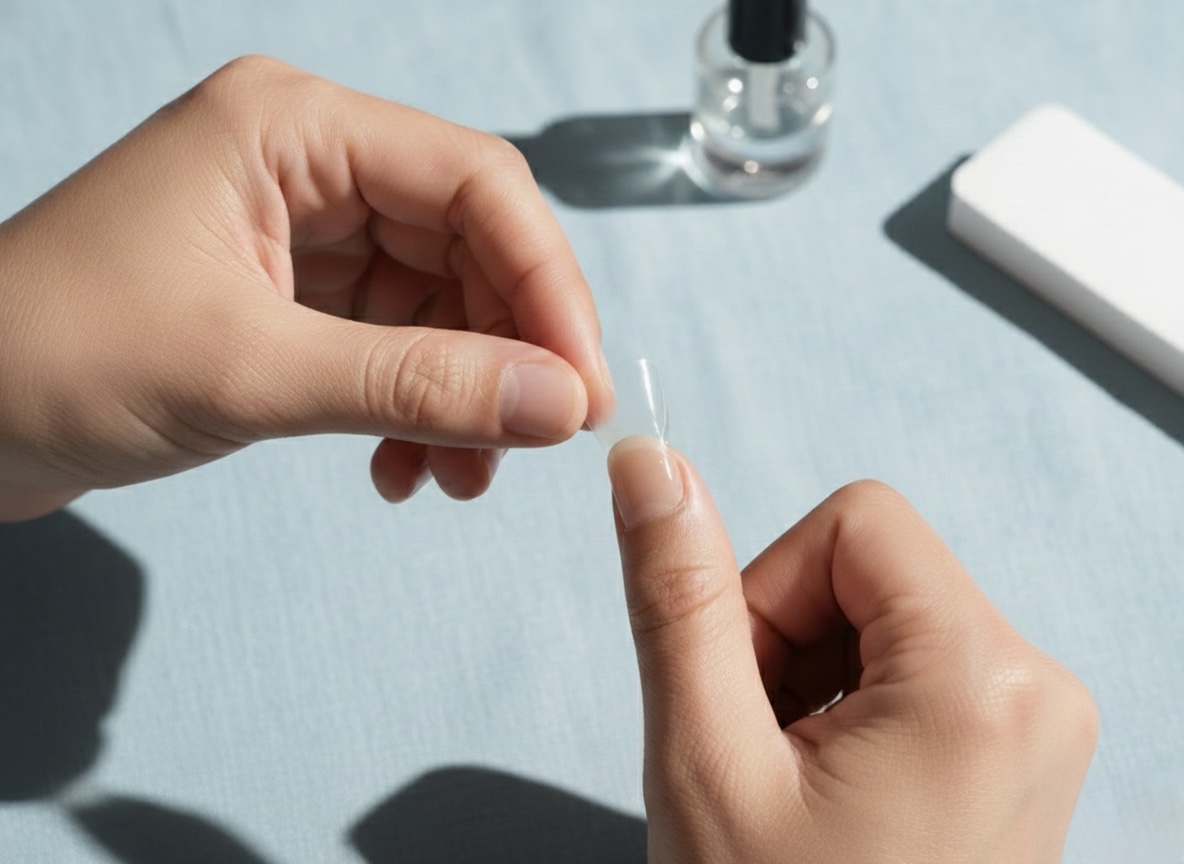
5. Peel off the cover of the adhesive sticker.
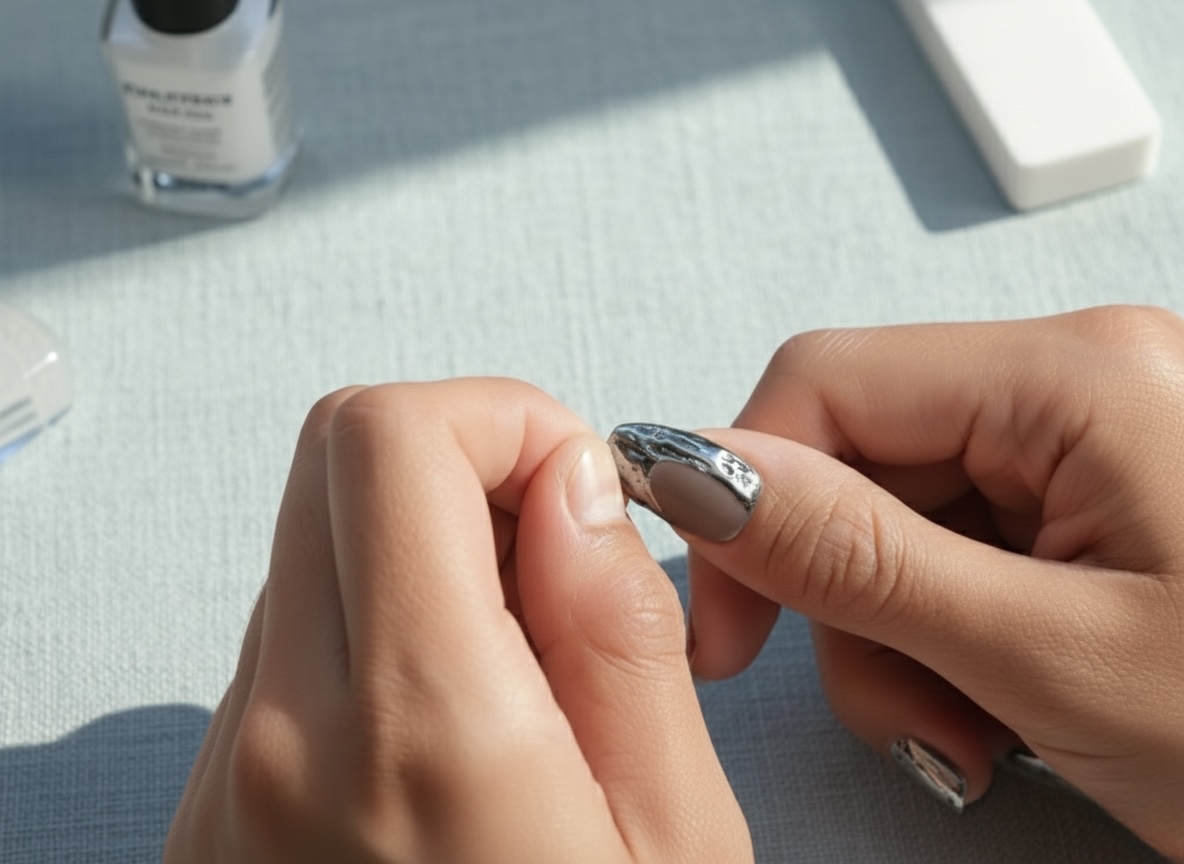
6. Press: Align the RosieCat nail with your cuticle and press down firmly at a 45-degree angle. Hold with strong pressure for 30 seconds to eliminate air bubbles.
Never “pop” them off! Gentle removal keeps your natural nails healthy.
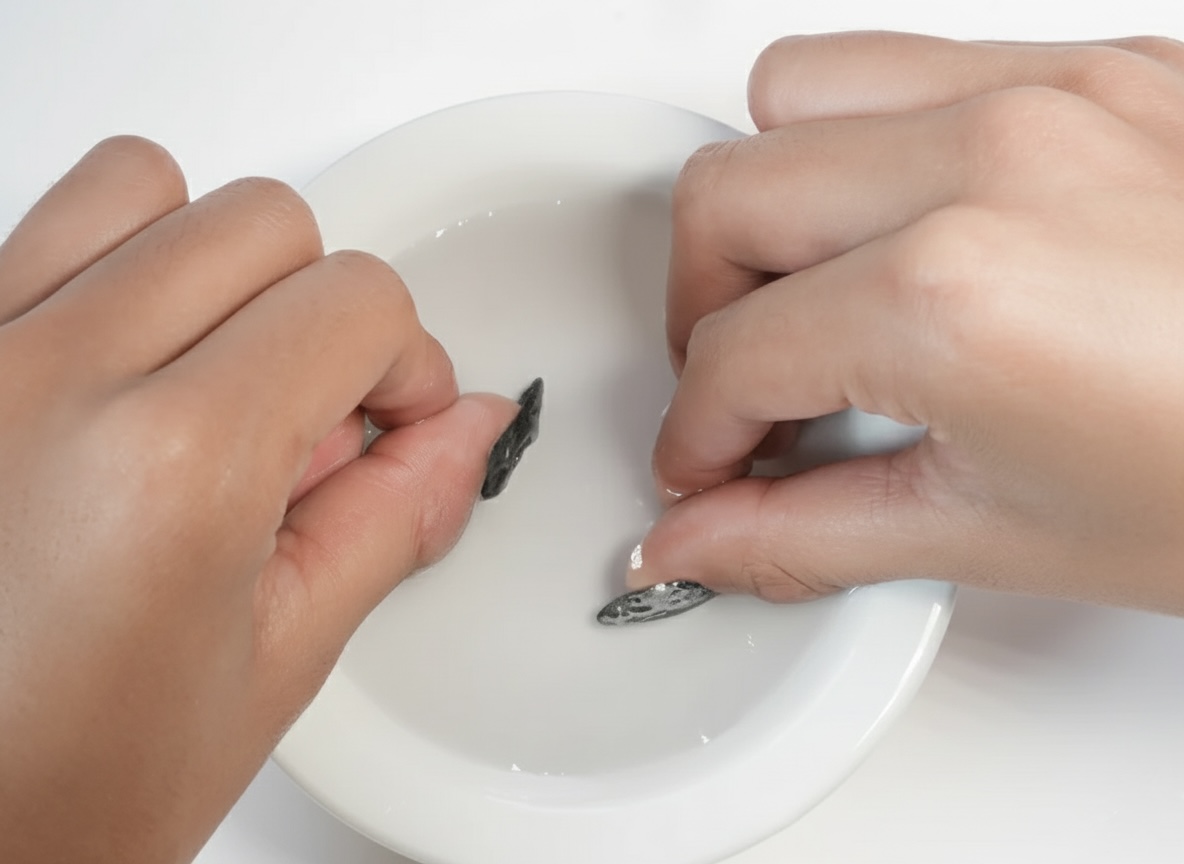
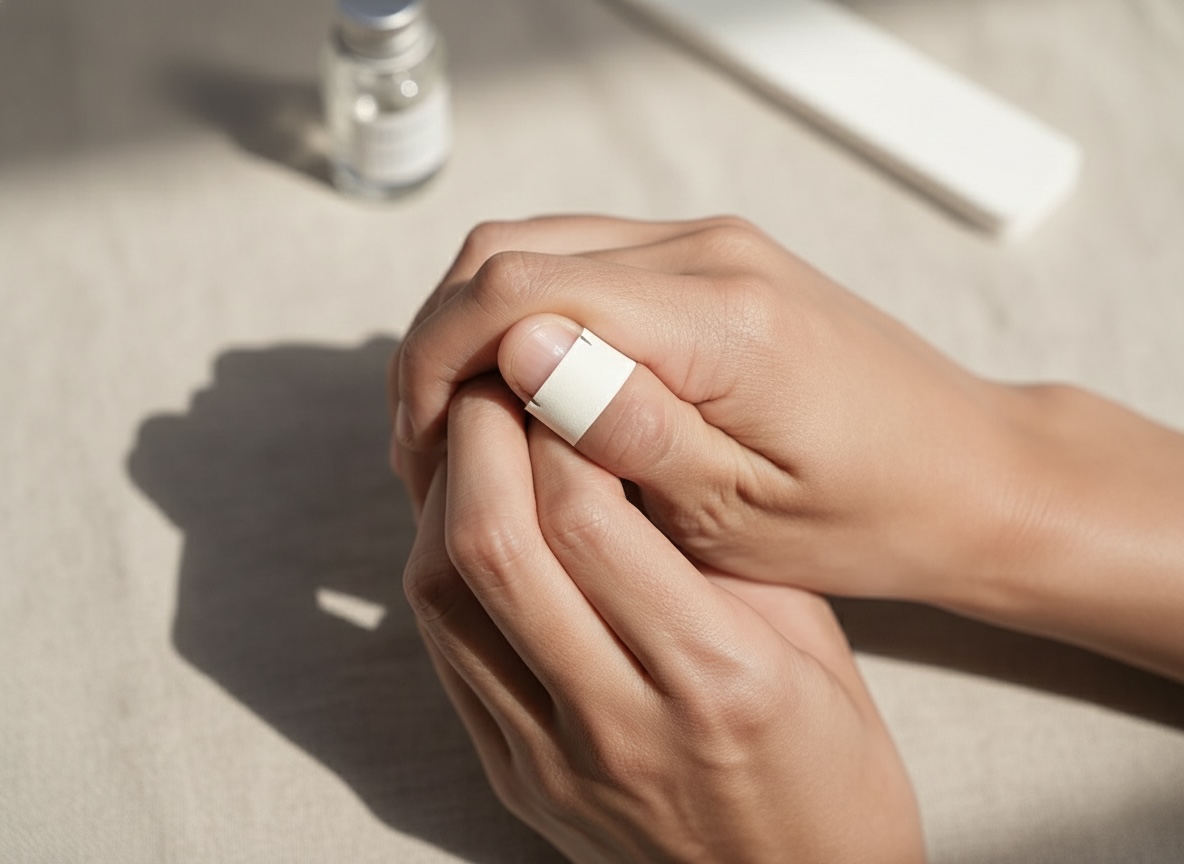
1. Soak: Submerge your hands in a bowl of warm water mixed with a few drops of dish soap and olive oil (or cuticle oil) for 10–15 minutes.
2. Loosen: Gently use the wooden cuticle pusher to lift the edges of the press-ons. If they don’t budge, soak for another 5 minutes.
3. Lift: Once the adhesive has dissolved, the nails should slide off easily.
4. Aftercare: Buff away any remaining glue residue and apply cuticle oil to hydrate your natural nails.
Finding your fit before you apply is the secret to a natural look.
The Tape Method: Place a piece of clear tape across the widest part of your natural nail. Mark the edges of your nail bed with a pen.

Measure: Remove the tape and measure the distance between the marks using a millimeter (mm) ruler.
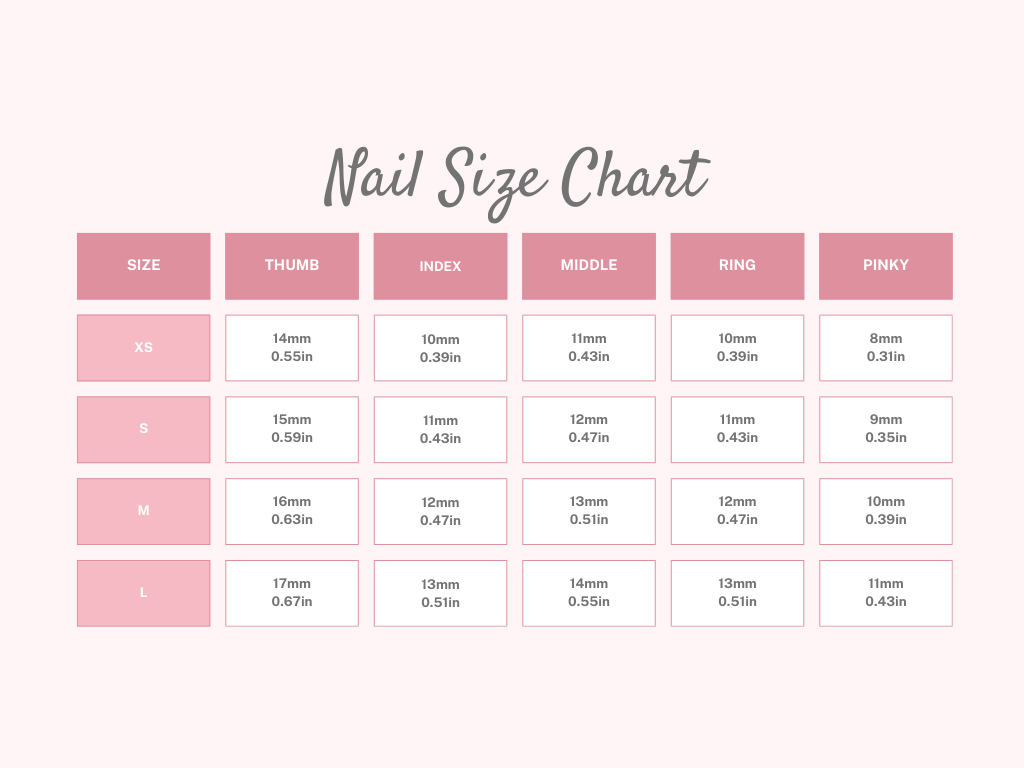
Pro Tip: If you are between sizes, always size down. A nail that is slightly too small looks more natural than one that overlaps onto your skin (which causes lifting).